
Guide
Learn Atlas Docs by working through the tasks below. The screenshots use the Little Café sample library; your own library starts empty. If you have not installed the app, start with Installation.
Getting started
Documents belong to topic folders, so related notes stay together.
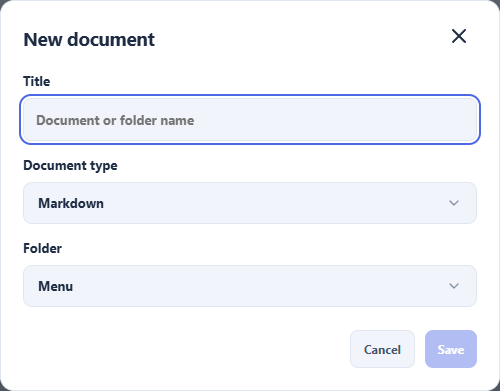
- Open Atlas Docs and choose New topic to create a top-level folder.
- Open the folder actions and choose New document.
- Enter a title, choose Markdown, check the folder, and select Save.
- Open the document, select Edit, write a short introduction, and Save.
To explore prepared content, follow the Little Café demo instructions. Use a separate, empty library.
Organize & search
Use folders and pinned destinations to make frequent documents easy to reach.
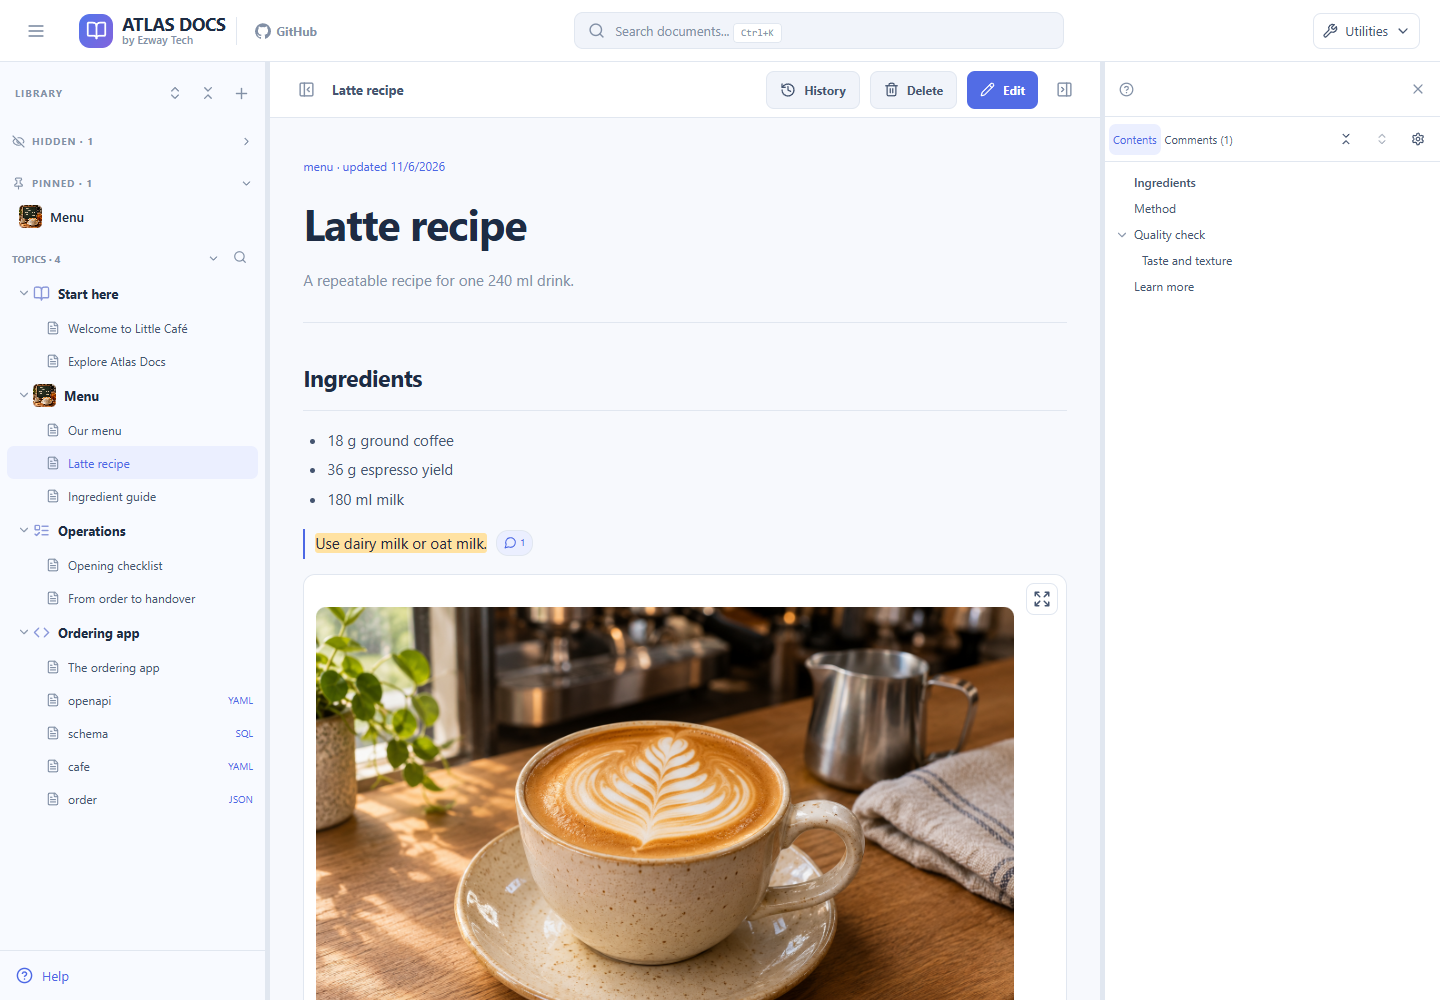
- Open a folder’s actions to create a Subfolder, rename it, or choose an icon.
- Group documents in up to three folder levels. Drag sibling folders to change their order.
- Choose Pin for frequent destinations, or Hide from sidebar to reduce clutter.
- Open a document from the tree. Use Contents to jump to a heading.
Hidden folders remain available from the dashboard; hiding is not deletion or access control. A folder must be empty before it can be deleted.
Search
Find documents, folders, and comments by searching the library.
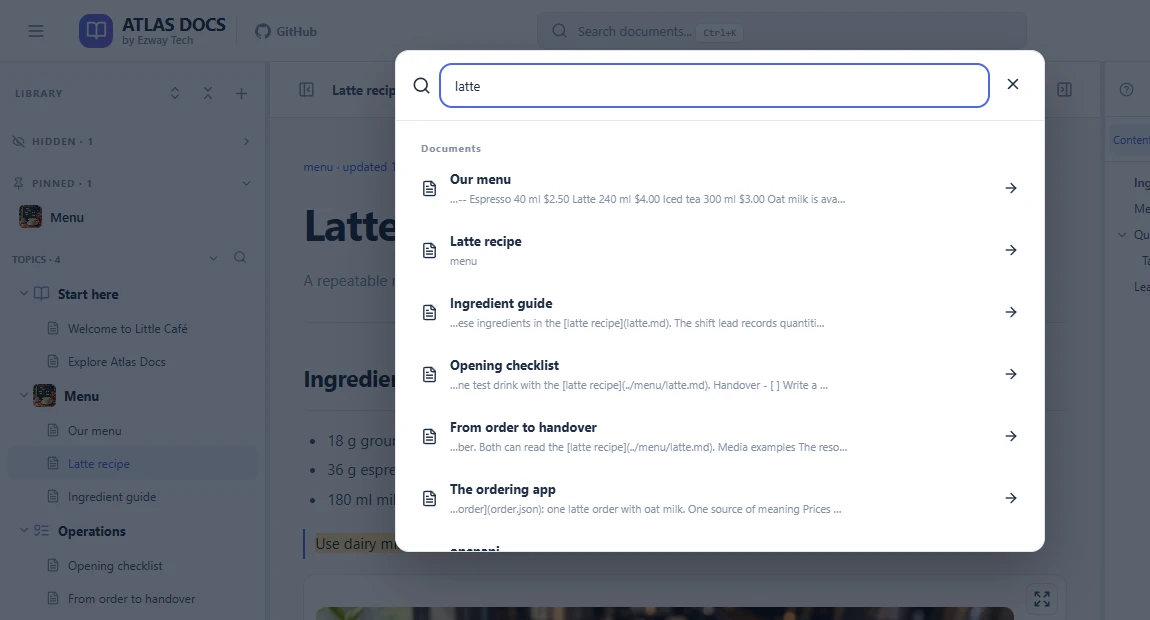
- Open Search, or press Ctrl+K on Windows/Linux or Command+K on macOS with the default shortcuts.
- Enter a title or a phrase from the content, then select a result.
- For a smaller search area, use Search in folder from the folder actions.
- Choose Search all to return to the whole library.
Shortcuts are customizable under Utilities → Keyboard shortcuts.
Read & edit
OpenAPI and SQL have dedicated viewers, alongside Markdown, Mermaid diagrams, YAML, and JSON.
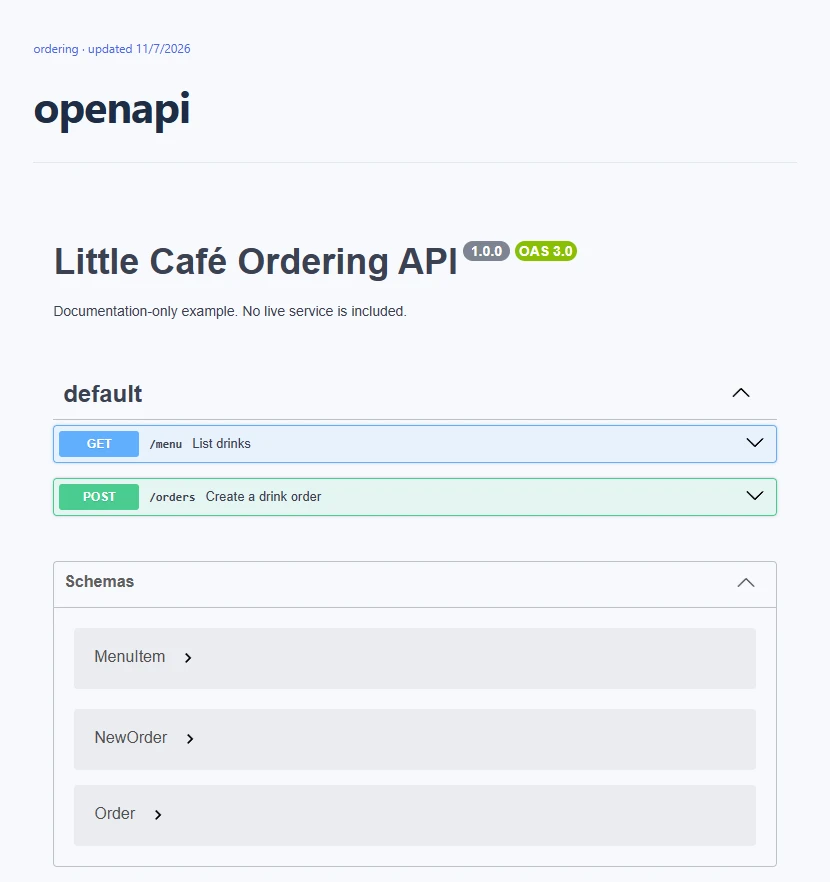
- Open an OpenAPI YAML document (
.ymlor.yaml) from the library tree. - Expand an endpoint to inspect its parameters and responses, or open a schema definition.
- Treat it as API documentation: displaying a definition does not supply a live API service.
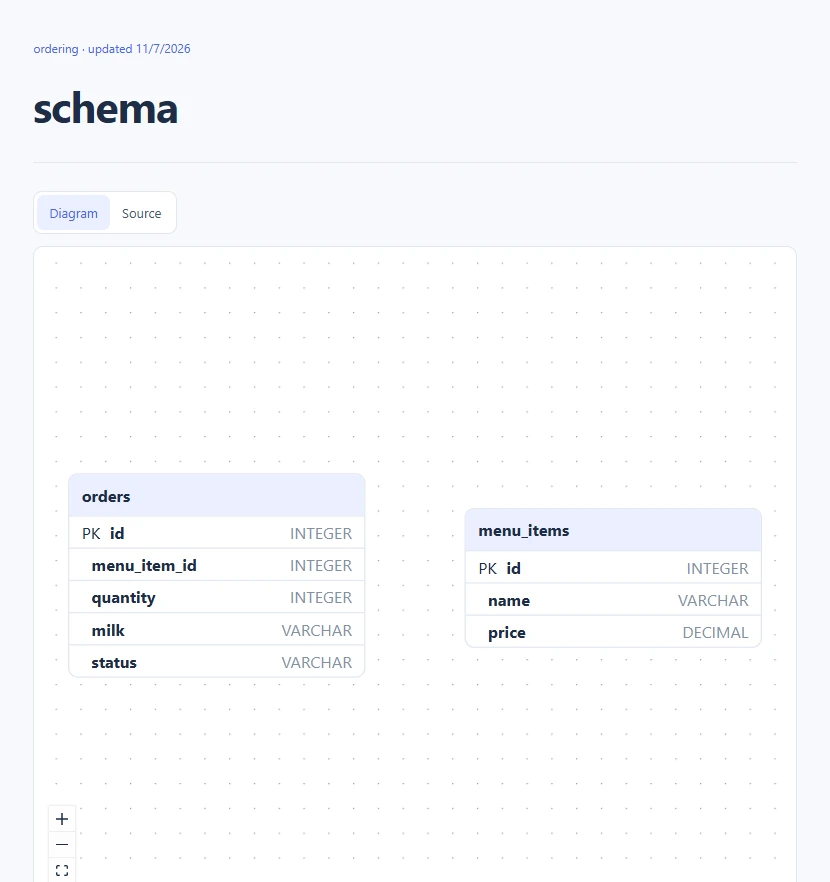
- Open a SQL document to inspect its schema diagram.
- Use the diagram controls to inspect tables and fields; switch to Source to read the SQL.
- For Markdown, use Contents to navigate headings and follow related document links.
Contents settings controls the heading range; the default is H1–H3. Other YAML files and all JSON files are shown as source. The current endpoint viewer detects OpenAPI in YAML; JSON files use the JSON source viewer, including JSON API definitions. SQL diagrams require supported CREATE TABLE statements.
Write and edit
Split mode lets you edit Markdown beside the rendered result.
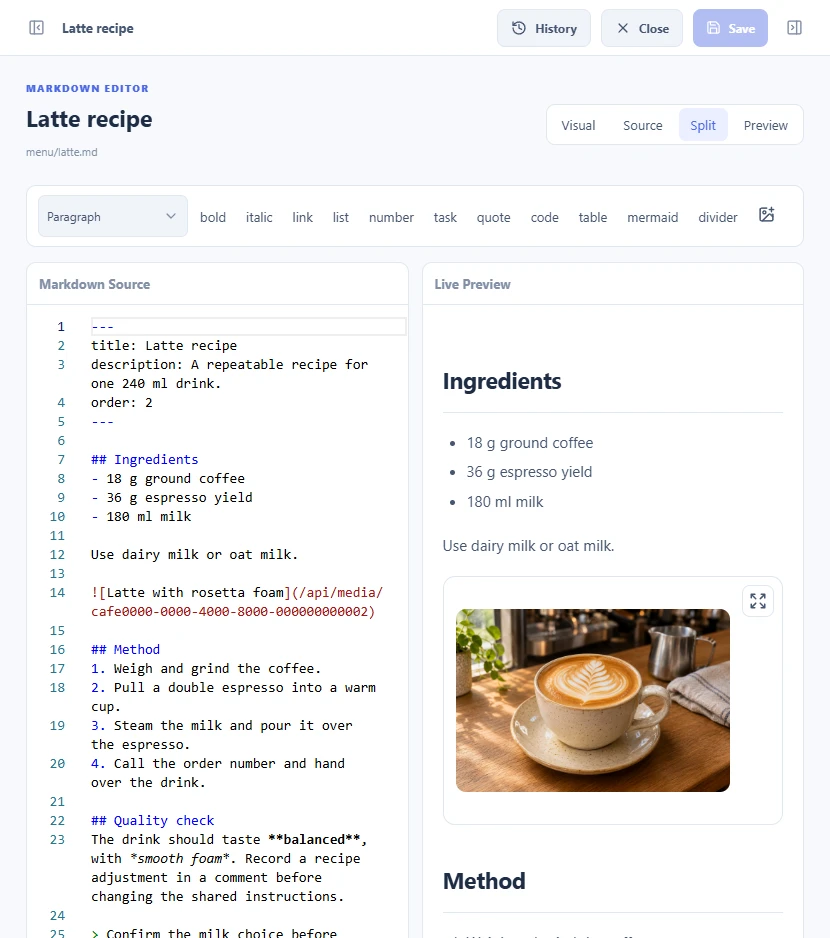
- Open a document and choose Edit.
- Select the mode that suits your content:
- Visual: edit simple prose with formatting controls.
- Source: edit Markdown or structured content directly.
- Split: keep the source and rendered result side by side.
- Preview: inspect the draft before saving.
- Make your changes, then use Save in the toolbar.
- Resolve any unsaved-change prompt before closing the document.
Visual mode is unavailable for complex content that could lose syntax, including tables, checklists, and Mermaid. Use Source, Split, or Preview instead. Use relative links to existing documents; the agent guide explains file layout and naming rules.
Images & attachments
Keep reusable images and files in the resource library, then insert them into documents.
Preview PNG, JPG/JPEG, WebP, GIF, and PDF files in the resource library. Play supported MP3/WAV audio and MP4/WebM video. Word (.doc, .docx), Excel (.xls, .xlsx), PowerPoint (.ppt, .pptx), TXT, CSV, JSON, and ZIP files can be attached and downloaded; they do not become editable articles. Each upload is limited to 50 MiB.
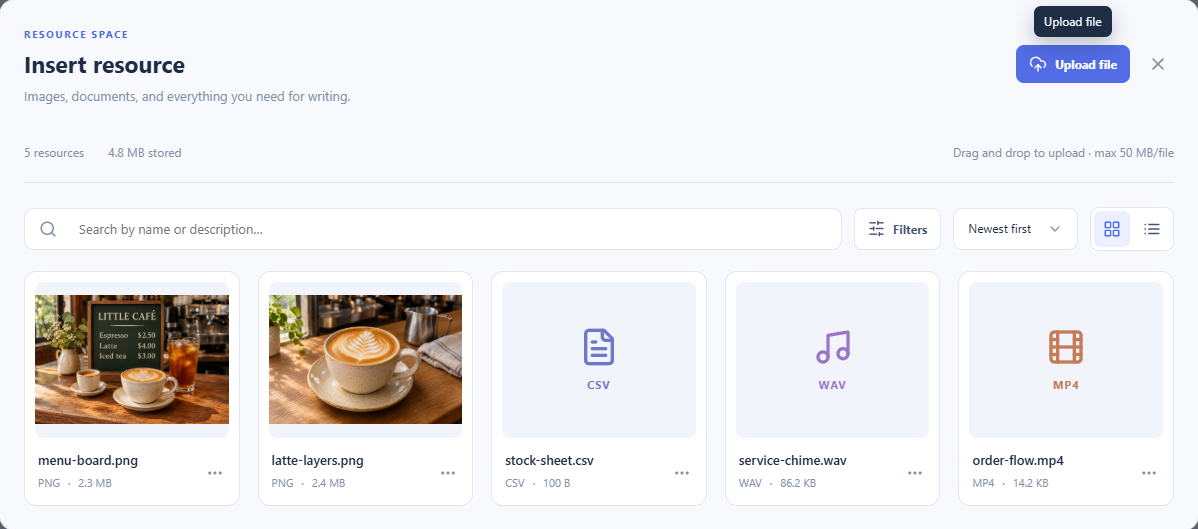
- Open Utilities → Attachments to browse, search, or upload files.
- While editing a document, choose Insert resource and select or upload an attachment.
- Insert it into the draft, then Save the document.
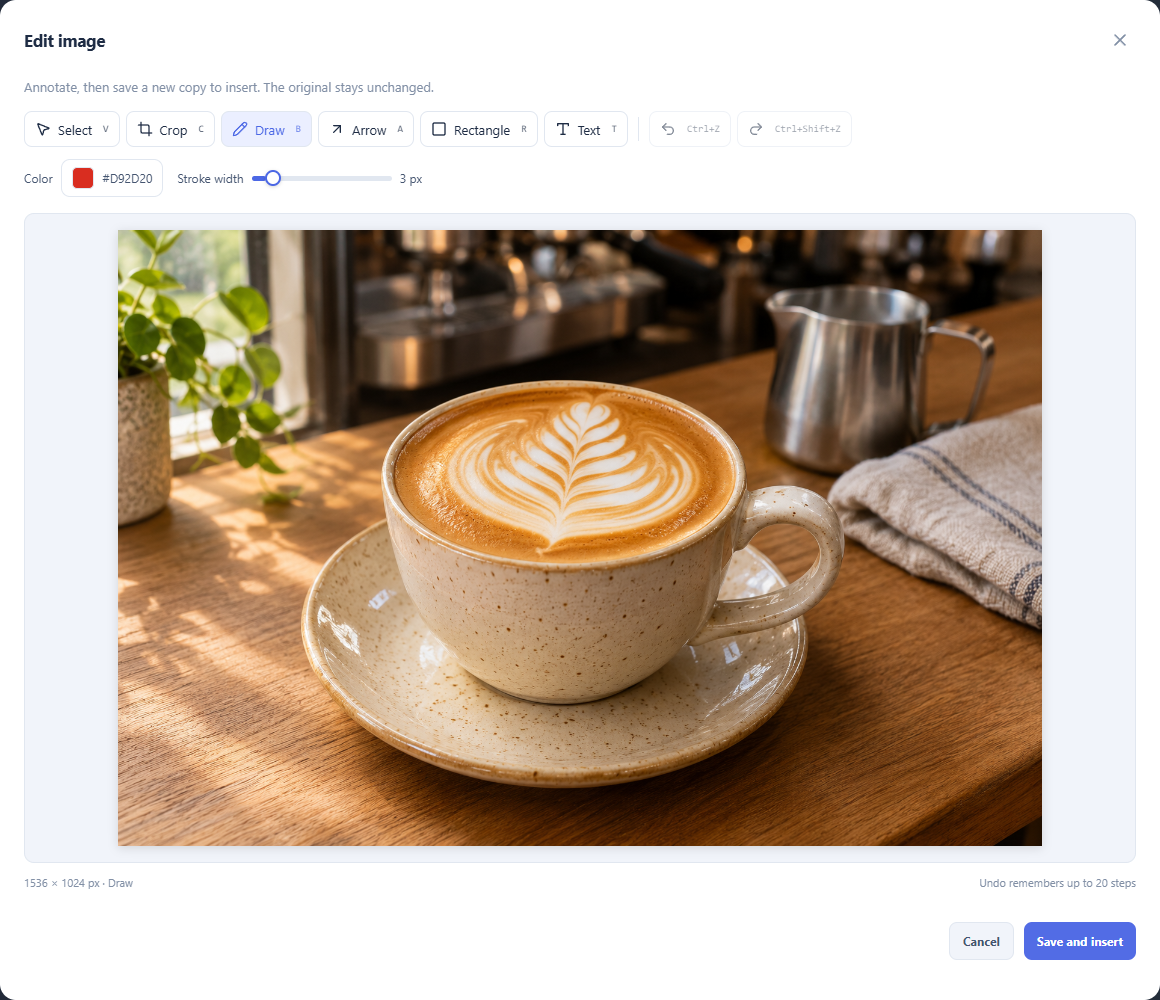
- In the insertion flow, choose Draw / edit to crop or annotate an image.
- Apply the crop or drawing changes, then choose Save and insert.
- Save the document to keep the inserted copy.
Editing an image from the resource library overwrites that image; existing references use the new version. Save and insert in the insertion flow creates an edited copy.
Comments & history
Add context to a passage and review changes saved through the app.
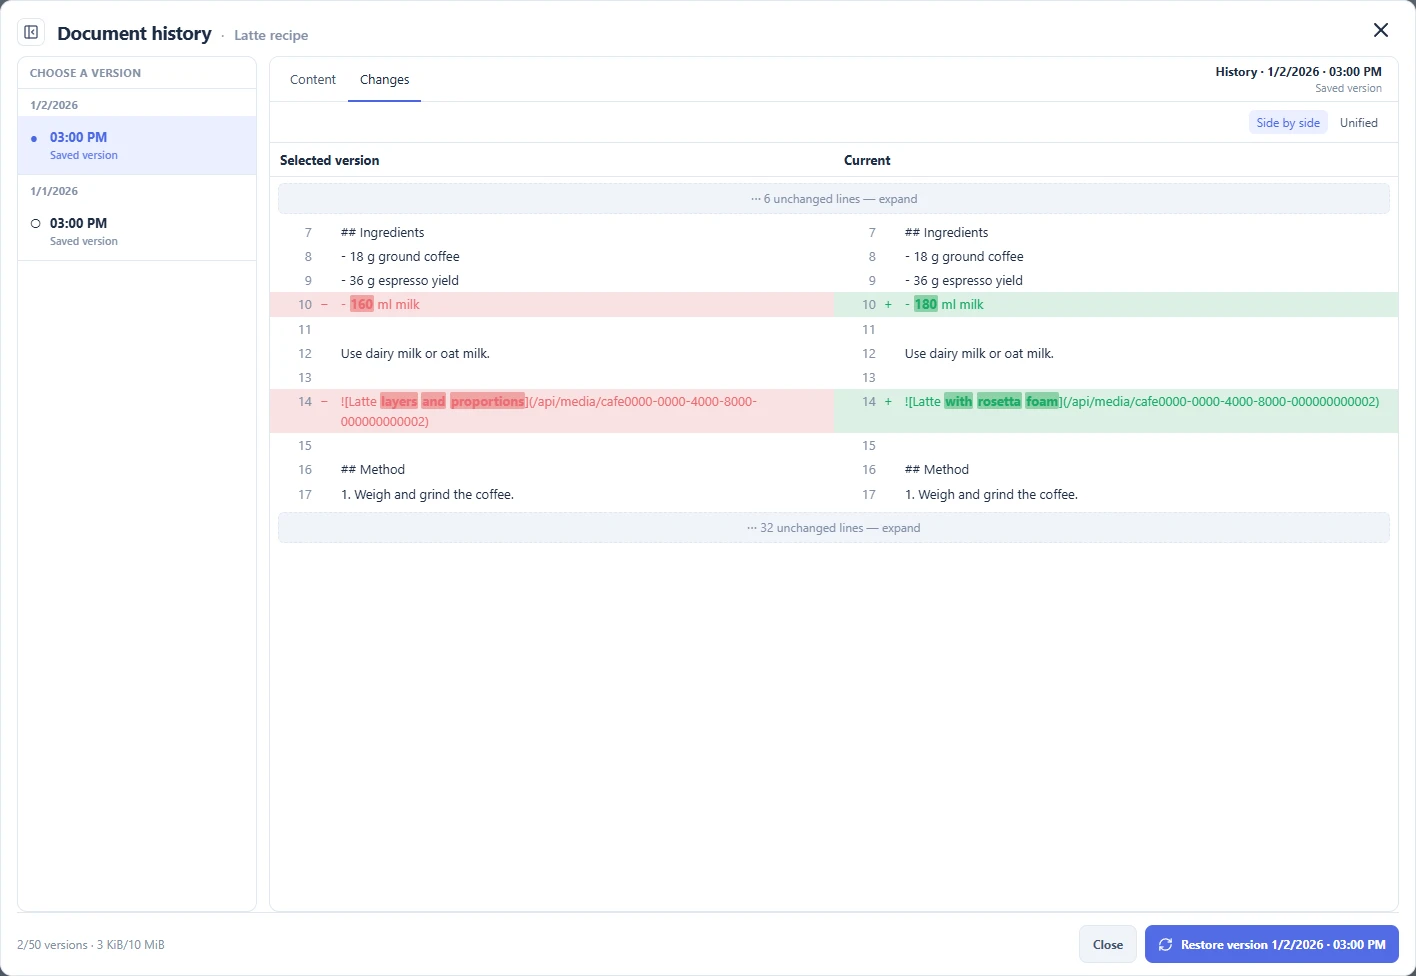
- Select a passage to add a comment, or choose Write a comment.
- Open History, select a saved revision, and inspect Content or Changes.
- Review the selected version before using Restore; restoring replaces the current content.
Changed saves capture the previous content; identical saves create no revision. Retention is limited, and direct file edits do not create app history. See the history policy for details.
Backup & restore
A ZIP backup preserves documents, attachments, comments, and app history together.
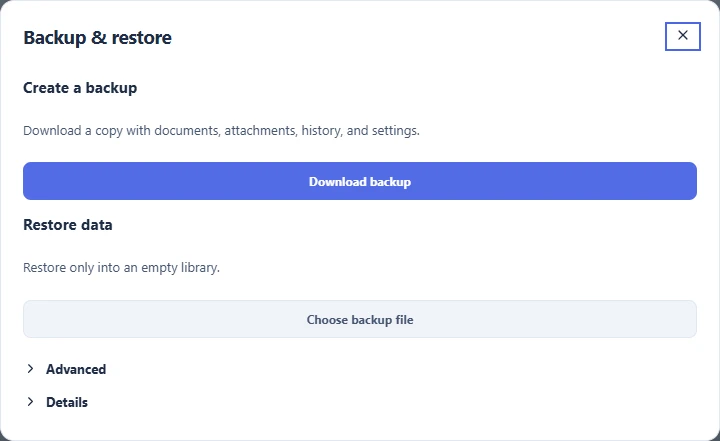
- Open Utilities → Backup & restore.
- Choose Download backup to export your library.
- To restore, open a separate empty library, select the ZIP file, and follow the app controls.
Do not erase a working library just to enable restore. Copying Markdown alone is not a full-library backup.
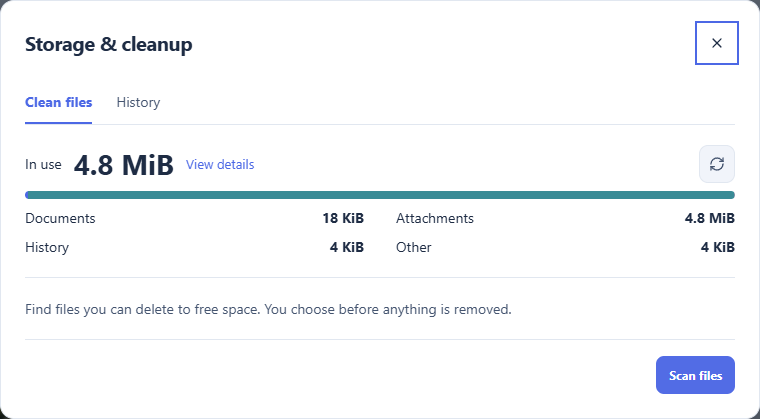
- Open Utilities → Storage & cleanup and choose Refresh.
- Choose Scan files to preview candidates, then review each reason and size before deleting anything.
- Review history-only references carefully; the scanner cannot see unsaved browser drafts.
See backup and recovery for limits and failure cases.
Appearance, language, and shortcuts
Use Utilities to change the interface without rewriting your documents.
- Choose light or dark appearance under Utilities.
- Choose Language to switch the interface language; the browser remembers the choice.
- Open Keyboard shortcuts to inspect and customize key bindings.
Document text stays as authored. Panel controls show or hide the library navigation and reading side panel.